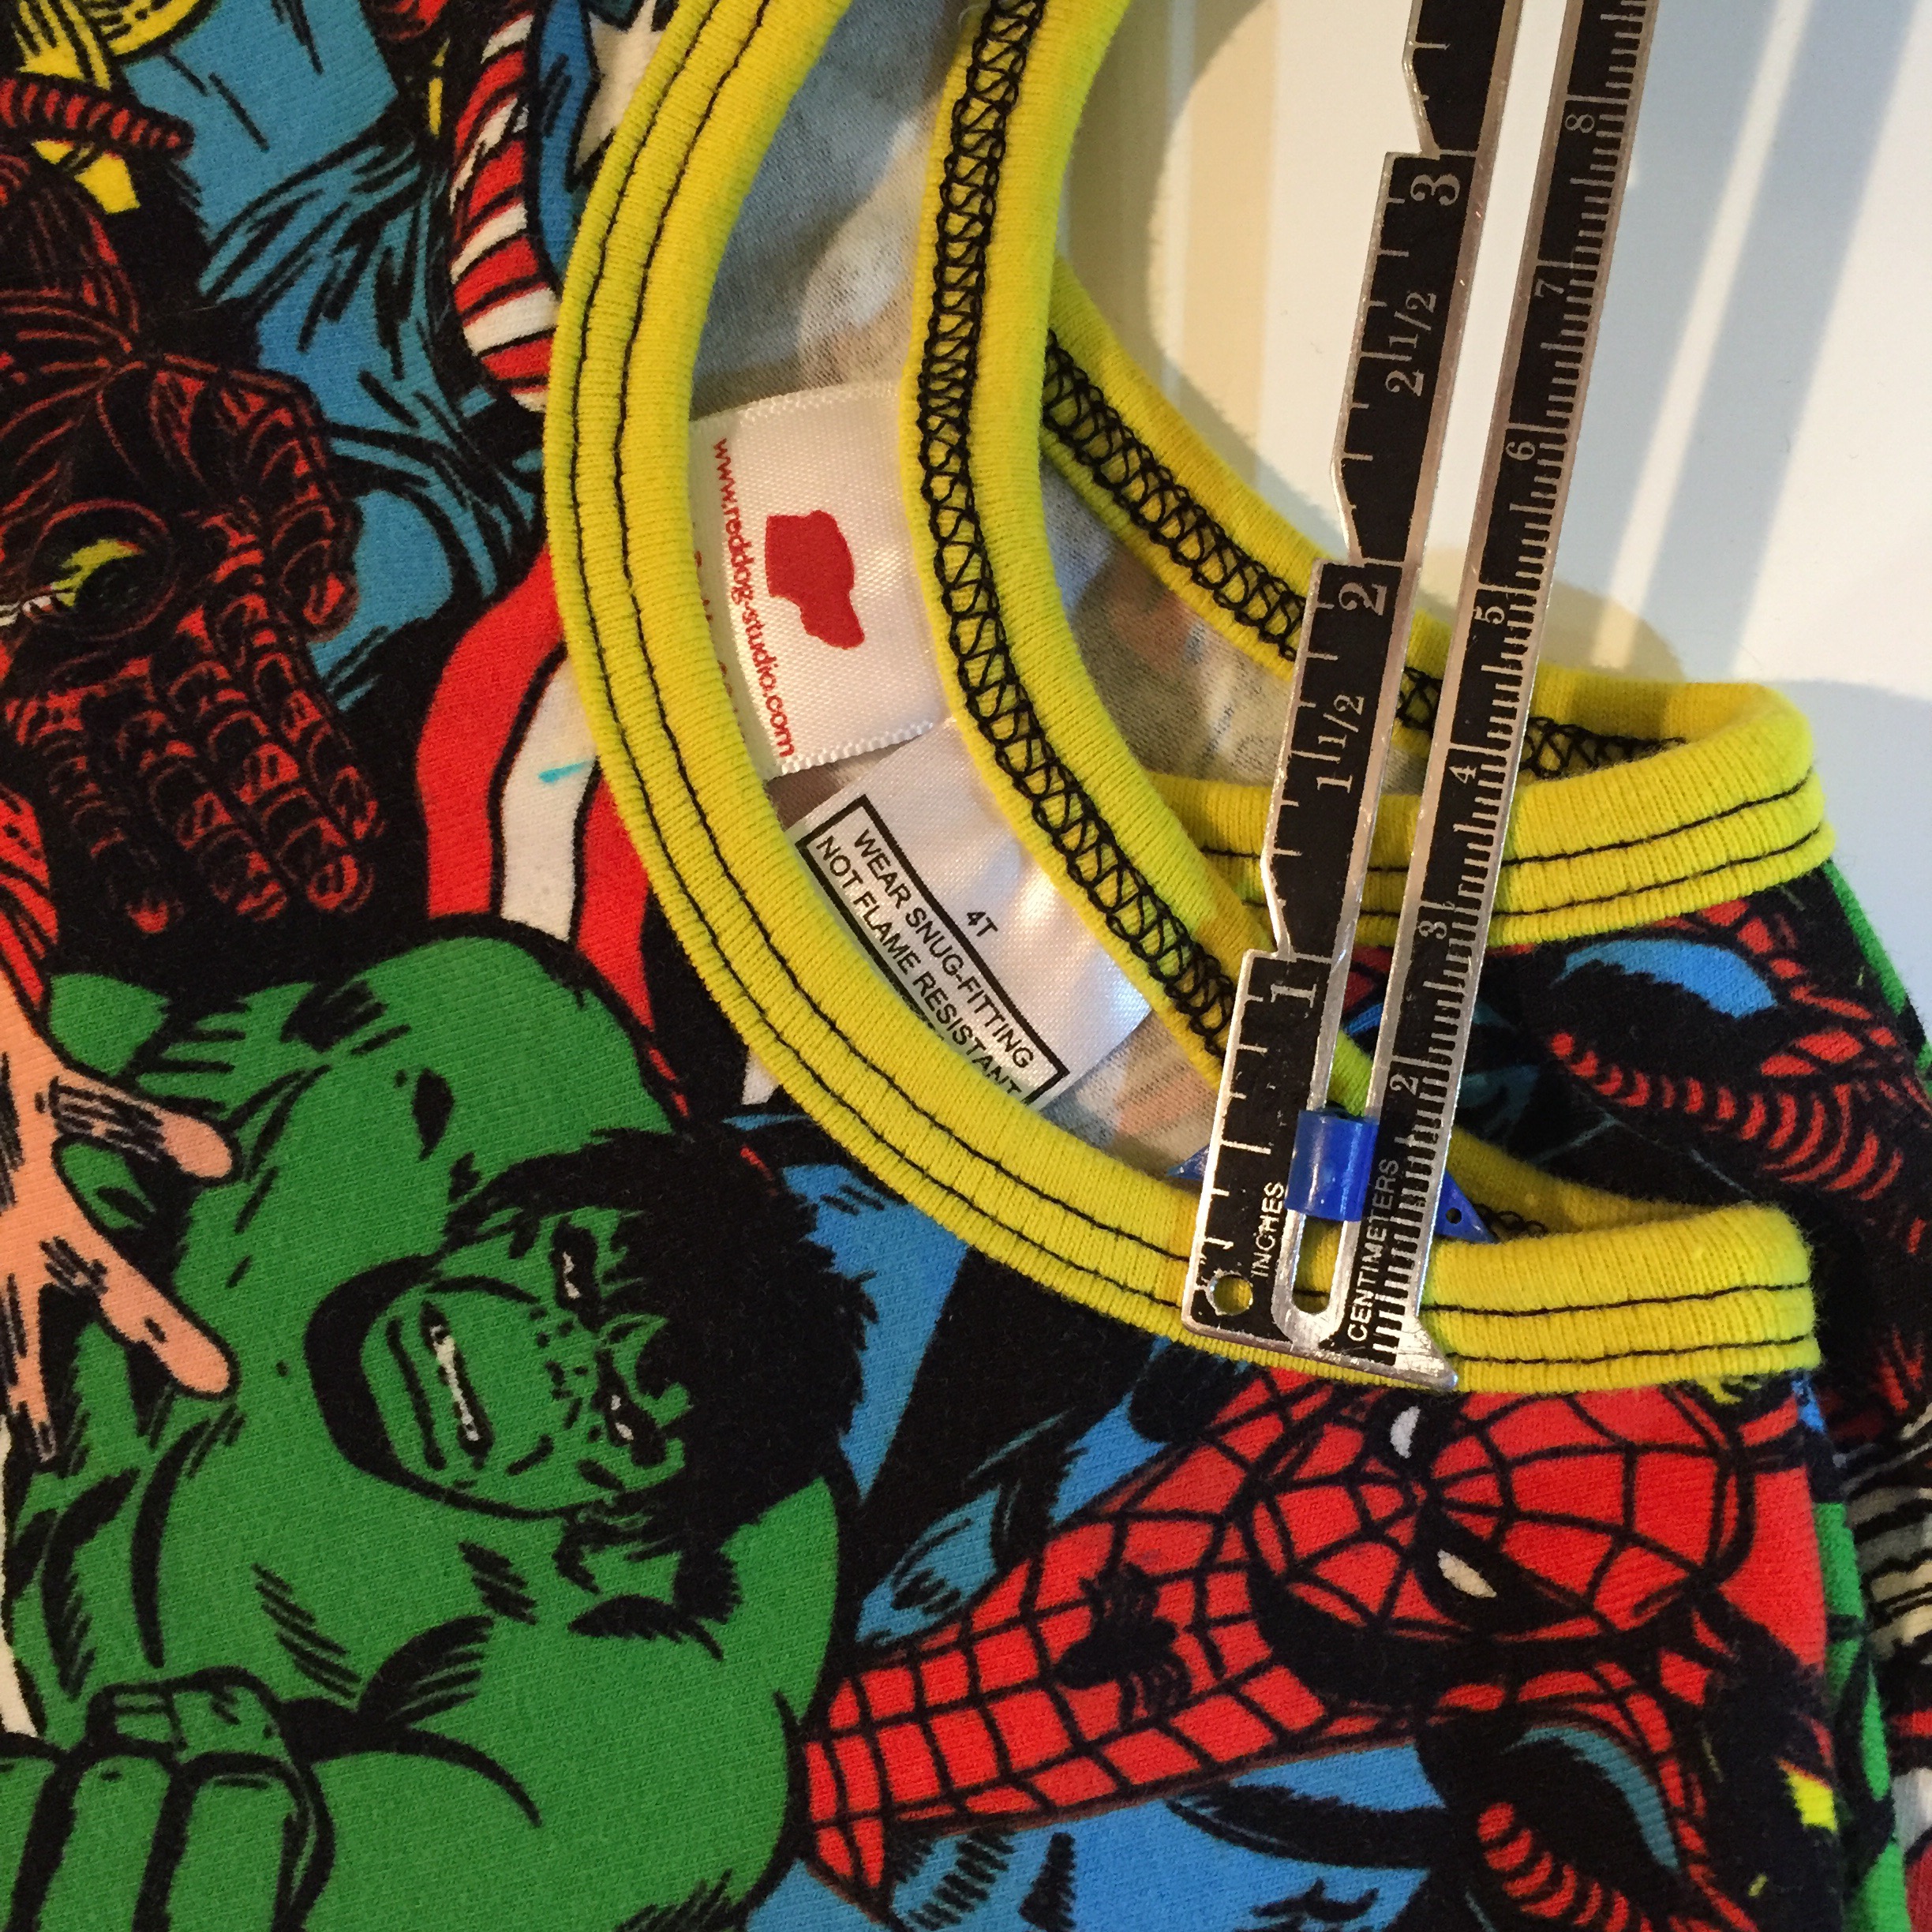
Babylock Coverstitch – Double Fold Binder Attachment

I was able to take home a binder attachment to try out and decided to do a video of just how easy it is to apply binding to the edge of a knit garment. There are many other binder accessories available for this machine but I thought I’d start slow. The one thing I love about the Babylock vs the Janome is I did not need a special adapter plate to mount the binder to and the Babylock machine actually also comes with the necessary mounting screws.
I am illustrating the 10mm knit/woven double fold bias binder. 10mm is the finished width of the binding and is about 3/8″. The instructions call for cutting your binding strip 36mm which is about 1-3/8″ wide. The instructions call for cutting knit on the crosswise grain (perpendicular to the selvage as one would normally cut knit) and on the bias for woven (cutting woven on the bias produces the most stretch which is important when using a woven to bind around curves).
This by no means is a definitive “how to” because I am still figuring this out but I was so excited I wanted to share. Please feel free to comment on this post or the video if you have great tips or tricks for binding attachments and what accessory you can’t live without.
Thank you to Sew Vac of Boulder for allowing me to play!
Hi watched your video on the Dbl fold bias binder, very good. ? Is how do you finish the ends. If using on a quilt you can’t go around a corner. Or if you are doing say a hot pad that is round how do you finish the stopping point.
Hi Sue – I’m sorry for only now seeing this. Normally a binder needs a start and stop point. So it’s great for things like neckbands and somewhere you can leave a seam open to start and stop. It works great around curves but is not really meant to be done “in the round” so to speak or do a 90 degree turn. Thank you for the comment!